I've been working on a little project for a while now. I want to build a programmable DC load, which isn't that complicated in itself. But I also want it to have a nice user interface. I didn't want to go with the standard 4 line character displays that everybody seems to be using. Instead I want to use a couple of segment LED displays to display voltage, current, power and resistance. The main reason for that is that I believe they're easier to read than a cheap LCD. The other reason is that they look much nicer IMHO :)
I have got a nice Hammond sink box in my parts bin that I'd like to use for this project. It's a big aluminium housing that can act as a heat sink. You can just bolt TO-220 packages to it on the inside; pretty neat.
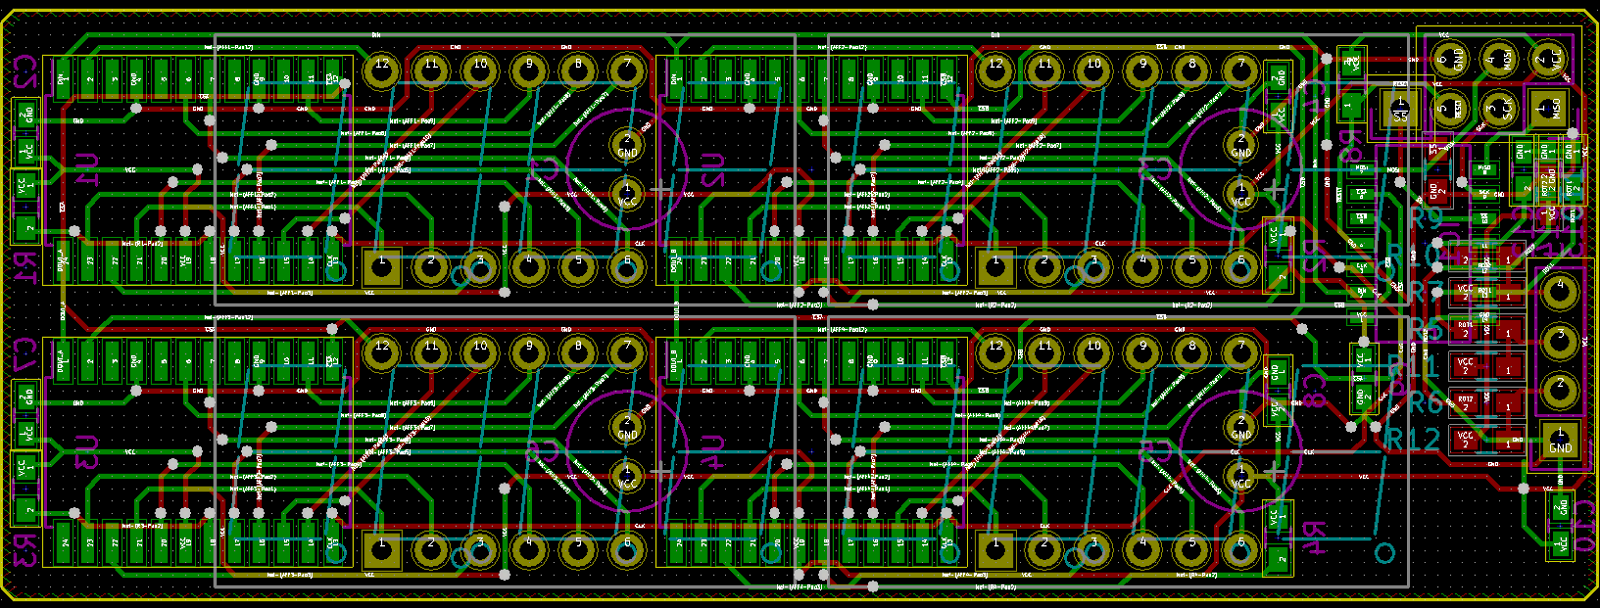
Anyway. This means the dimensions are pretty much fixed and there's not much room to work with. This is what I came up with:
I'll probably move the connectors to the bottom and the rotary encoder to the right, but this should give you an idea of the dimensions.
The user interface will have its own micro controller to handle all the input and "menu" logic. I'll use an ATtiny24A for this (2K ROM, 128 RAM, 128 EEPROM, 14 pins) and four MAX7221's.
I already did some testing with an Arduino Nano to play with the rotary encoder and two displays. That worked pretty well, time to really start prototyping:
Yeah, messy. But nothing spectacular, just scaling up the previous setup. The icky part is using a new micro.
When using a bare ATtiny on a breadboard you only need two extra components: one ceramic cap (100nF) across the power supply pins and one resistor (1K-10K) between VCC and RESET. The ATtiny has an internal oscillator which it will use as a clock by default, so no need for a crystal.
Now for programming these micros. I always like to start of easy, just to make sure the programmer is wired correctly and I didn't mess up the clock settings. So I wrote a small program that toggles a specific pin every second, compiled that and uploaded it using avr-dude and a cheap USBASP dongle. And then all hell broke loose.
For starters, Windows 10 doesn't like the unsigned USBASP drivers, so I had to jump through some hoops to get that done. Then I managed to upload a program, once. After that I got all sorts of verification errors. Thinking the programmer was at fault, (since it was spewing out some warnings), I attempted to upgrade its firmware, bricking it in the process. Yay.
Plan B. Use an Arduino Nano as ISP programmer. That's simply a matter of uploading the AruinoISP sketch and wiring it to the ATtiny.
Still, no success. I could download the existing program from the ATtiny, but uploading a new one resulted in verification errors: it wouldn't write the new program.
Double checking the avr-dude configuration for the ATtiny with the datasheet didn't bring up any errors; that seemed to be okay. Then I attempted to write a custom binary file of all zeroes. That worked! But writing anything else didn't :/
Final step: swapping the ATtiny for a new one. Surprisingly, I was able to upload my program and finally got a blinking LED! But it was blinking too slow, so I probably got the speed wrong. After fixing my code the upload failed again! Comparing the uploaded code to the code read from the micro it finally hit me: bits were only being set to zero! Meaning the memory wasn't cleared before writing! Double checking the flags being passed to avr-dude I noticed the -D flag. Removing that fixed the problem! That only took an entire afternoon :/
So, next problem. The LED was only blinking every 8 seconds, instead of every second. The ATtiny is supposed to run at 8 MHz, but apparently it was only running at 1 MHz. A quick peek in the datasheet revealed the cause: CKDIV8 was enabled in one of the fuses, causing the clock to be divided by 8. All this setting does is set the default value of the clock prescaler to 8 instead of 1. This can either be fixed by burning new fuse values, or by setting the prescaler in code. I opted for the latter, because (a) that's easier to do than googling how to burn fuses, (b) I'm lazy and (c) it will work for new ICs with default fuses.
Two lines of code later, the LED is finally blinking at the right speed :)
Next: porting the existing code...